
How to Record Vocals at Home: Clean Sound Without a Studio
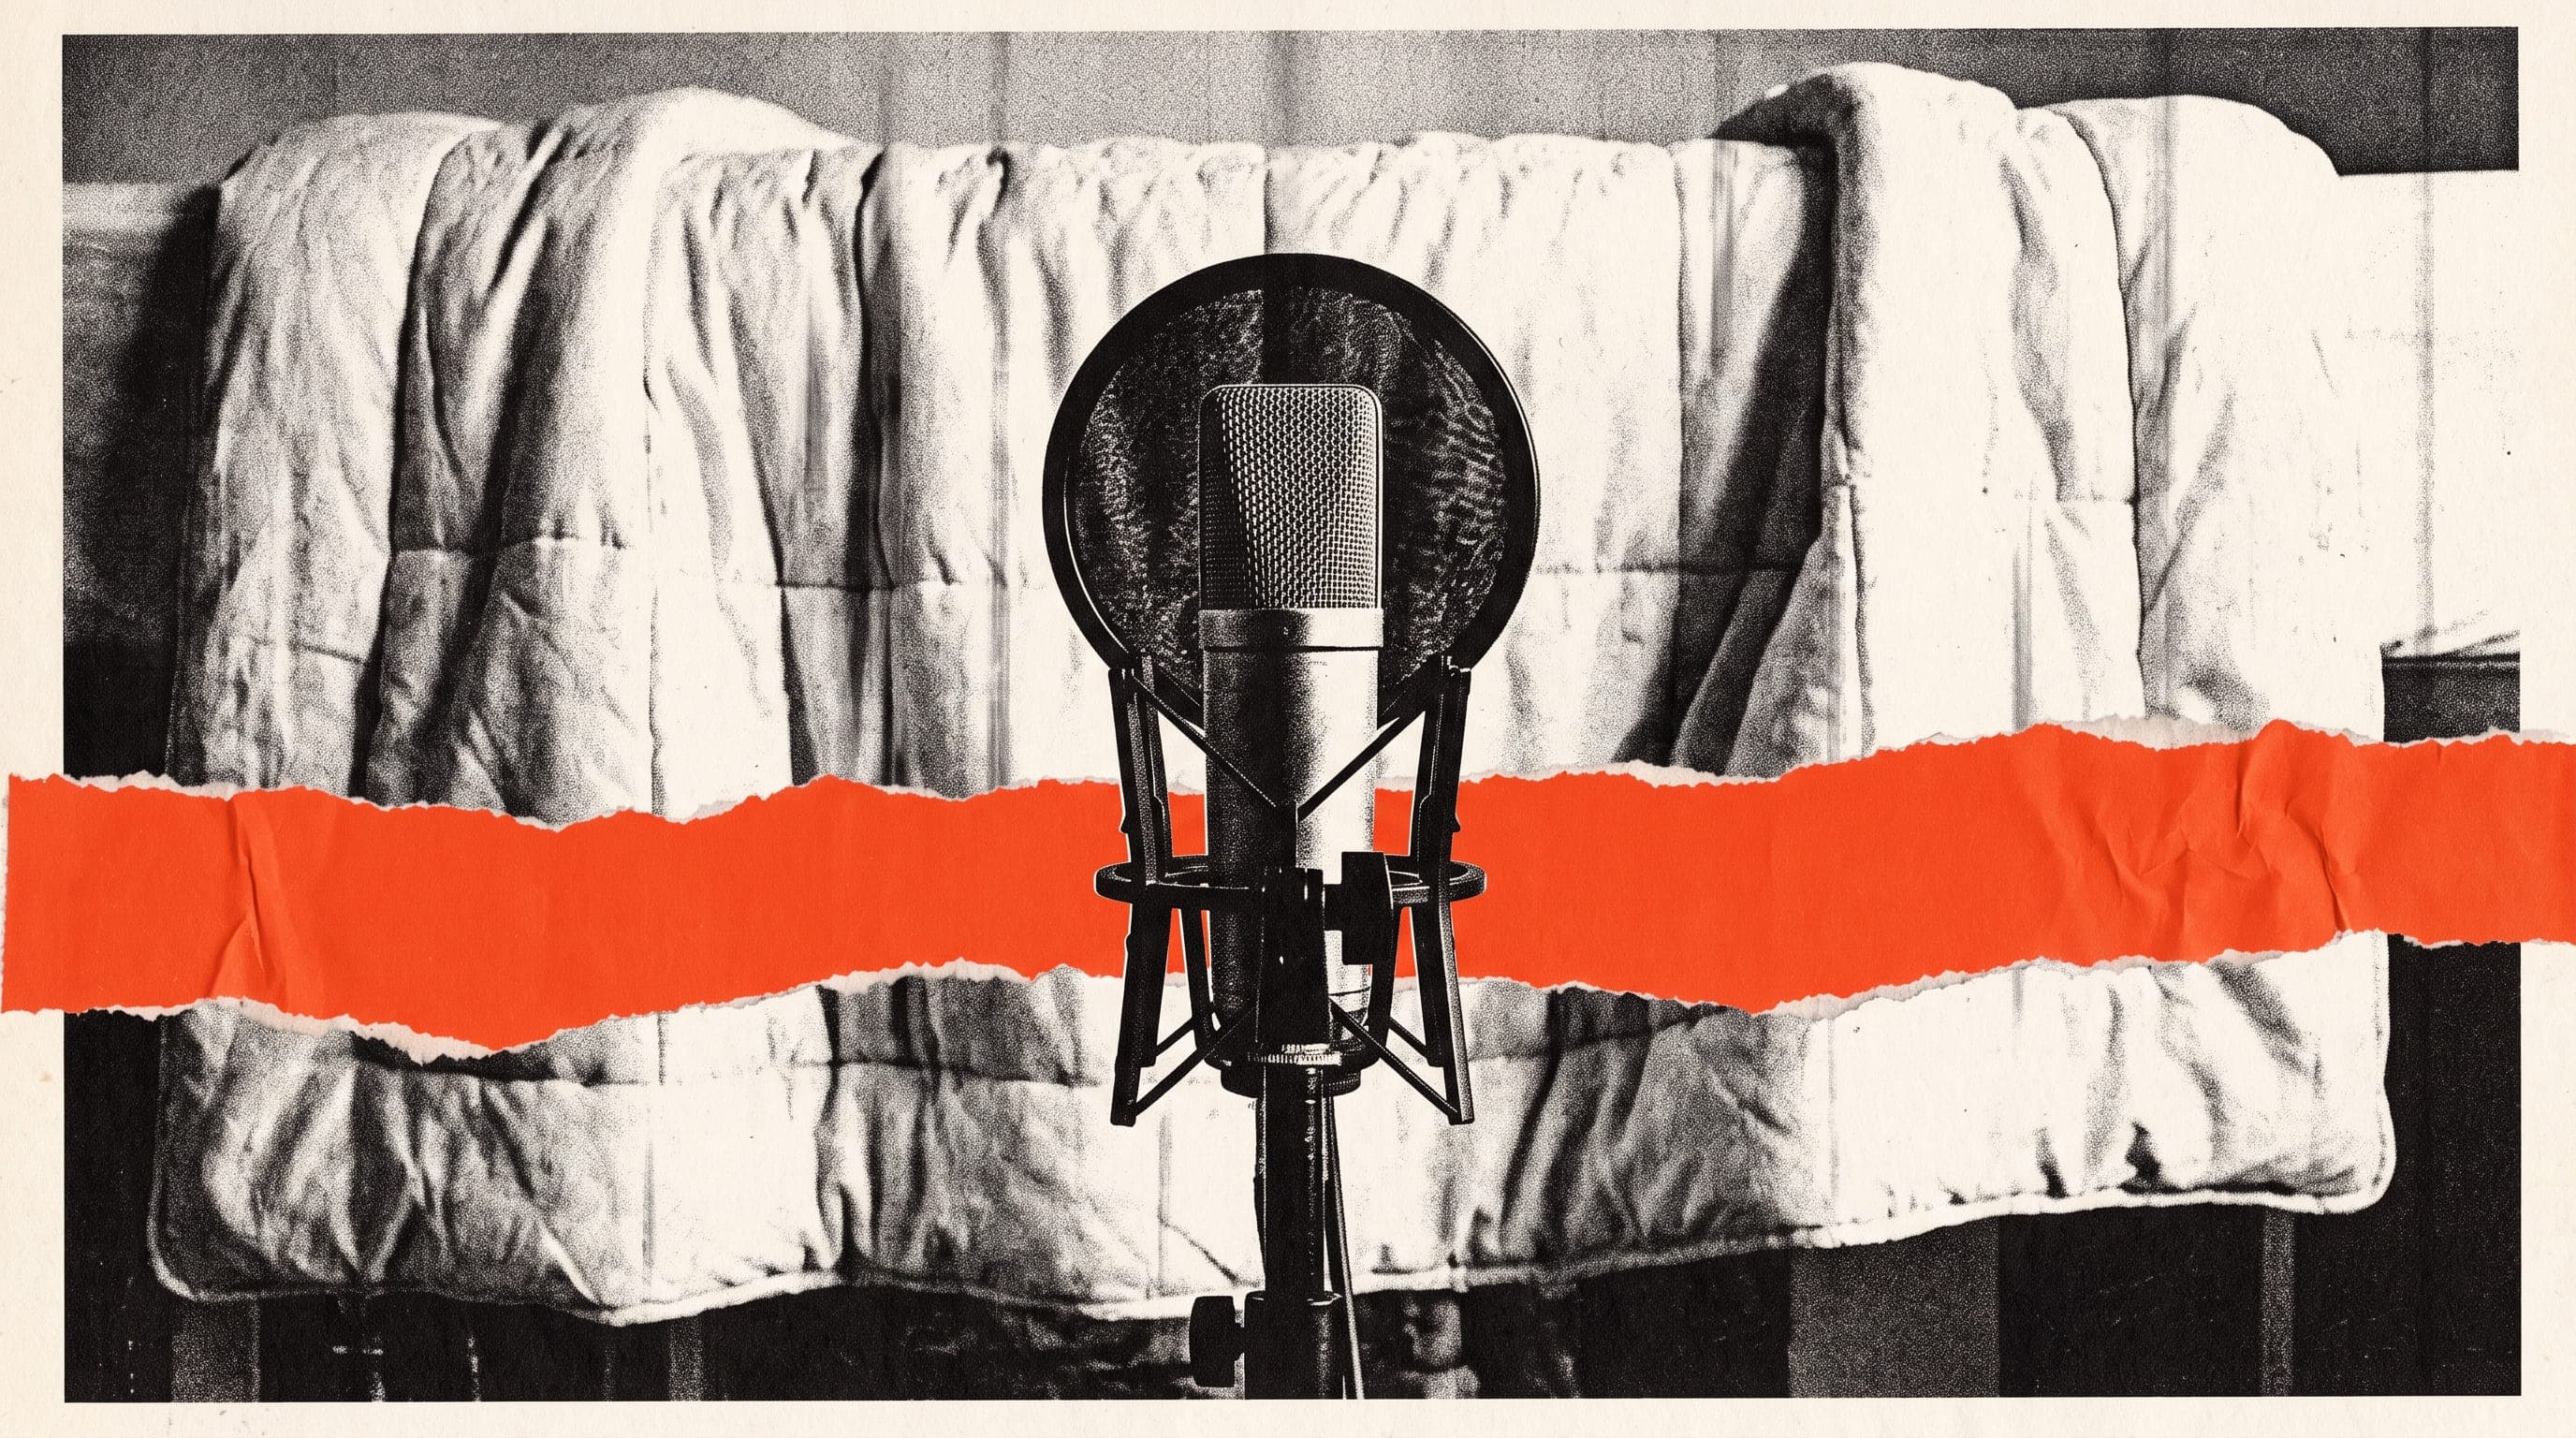
You don't need an expensive mic to record clean vocals at home. What makes the difference is what the room does to your voice, how far you stand from the mic and the level you record at. All three cost nothing.
You track the vocal and it sounds fine in the headphones. Next day you play it on speakers and it sounds like you sang it in the bathroom. Muddy, distant, a faint boom behind it. We had that a lot on our first home recordings. Most of the time the problem wasn't our voices. It was the wall behind us.
Picking a mic and an audio interface is a separate topic. For that, see the posts on setting up a home studio and what an audio interface is. Everything below works with the setup you already have.
Why do home vocals sound like a bathroom?
Because the mic doesn't only hear you. Cardioid mics, the kind that pick up sound from the front and reduce what comes from behind, also pick up the room's reflections along with your voice. Your voice hits the wall, bounces back and ends up in the take.
Small rooms add another problem. Foam and similar absorbers only work down to roughly 250–300 Hz. They soak up the highs but leave the low end bouncing around the room. The result is a bass-heavy, boxy sound.
You usually don't notice it in the headphones while you're singing. It shows up the next day, on speakers, with fresh ears.
Where in the house should you set up?
Don't put the mic in the dead center of the room. Move it a bit off center. Behind you, where your voice would bounce back into the mic, put something soft that won't reflect. A thick duvet is the easiest option. Hang it between two chairs, on a coat rack or over a door and you're set.
Singing in front of, or inside, a closet full of clothes is a popular tip. In some rooms it works well. But a tight space can make that boxy sound worse. Try it: record a quick test in two spots and compare them on speakers.
Think about the lyrics too. Hold a sheet of paper and the rustle gets on the recording. Put it on a music stand, at eye level, a little to the side of the mic. Reading off your phone? Turn off auto-lock and silence notifications.
Before you record, listen to the room. Fridge, AC, computer fan, open window. Any hum you tune out while singing will be on the take.
The one-line rule: hard surfaces reflect, soft ones absorb.
How close should you be to the mic?
For most singers, about 4–8 inches (10–20 cm) is a good starting point. Roughly a hand's span. If you use a pop filter, put it right in front of the mic, about 3 inches away, and stand 6–12 inches back from the filter.
A pop filter controls the bursts of air on sounds like "p" and "b" without changing your tone much. It has a useful side effect too: it helps keep you at roughly the same distance.
Staying consistent matters as much as the distance itself. Lean in on the chorus and back off on the bridge, and both your tone and your level shift. That's hard to fix in the mix. Mark where your feet go with a strip of tape on the floor. Simple, and it works.
What level should you record at?
The most common mistake is recording too hot. The moment the interface meter hits red, you're clipping: the signal goes past the ceiling and gets chopped off. A clipped vocal usually can't be cleaned up afterwards.
For 24-bit recording, these are good starting values:
| Setting | Starting point | Why |
|---|---|---|
| Bit depth | 24-bit | The noise floor is far lower than 16-bit, so recording at a careful level costs you nothing |
| Sample rate | 48 or 96 kHz | The recommended values for music |
| Average level | -18 to -20 dBFS | Leaves about 20 dB of headroom |
| Peaks | Around -10 dBFS | There's still room left on your loudest note |
| Mic distance | 4–8 in (10–20 cm) | A good start for most singers, adjust by ear |
dBFS measures level against the digital ceiling. 0 dBFS is the ceiling itself. -18 dBFS is treated as the equivalent of 0VU on analog gear, so think of it as "normal level."
Set the level for the loudest part of the song. Sing the biggest note in the chorus and watch the meter. Set it on the verse and the chorus will clip.
If you're recording the song in sections, keep the level the same across them. Chorus at one level and verse at another means extra work in the mix.
What should you hear in your headphones?
Use closed-back headphones. Open-back ones leak a lot more sound, and that leak goes straight into the mic. Later you hear faint drums or a click behind your vocal track.
Record the vocal dry, with no effects. Reverb and the rest get added in the mix. But a little reverb in your headphone mix can help you sing more comfortably. It isn't recorded, only you hear it.
Get the balance right between the click or the track and your own voice. When I can't hear myself well, I always end up singing louder and pushing harder.
Do you have to nail it in one take?
No. Even experienced singers rarely deliver a flawless performance start to finish. The standard approach: sing the song a few times, then pick the best version of each section and stitch them together. That's called comping.
Knowing this changes the mood of the session. Once the "if this one fails it's all garbage" pressure is gone, you sing more freely. We usually run the whole song a few times first, then go back and retake the tricky spots one by one.
Don't start cold. Do a few vocal warm-up exercises before you hit record. Drink water between takes and stop when you're tired. You won't use the tired takes when comping anyway.
A small habit that makes comping easier: keep a printout of the lyrics next to you and write the take number next to the lines that went well. Afterwards you jump to the marked spots instead of listening through ten takes. Naming takes in your DAW does the same job: "chorus 3", "bridge 2".
What should you listen for first?
Don't judge the take the moment you finish. Your head is still inside the performance. Take a break, then listen on speakers first and headphones second.
Listen for three things: a muddy tail from the room behind the vocal, level jumps between sections, and whether the performance carries the feeling of the song. The first two are technical, and the room setup or the level fixes them next time. The third one means singing it again.
If you hear mud, move the duvet and do another short test. After a couple of tries you'll find the best spot in your room and can use it every time.
What to check before you hit record
- Is there a duvet or something soft behind you?
- Is the mic off the center of the room?
- Fridge, AC and fan off? Phone on silent?
- Pop filter in place, feet marked on the floor?
- Level set on the loudest part of the chorus?
- Closed-back headphones, no audible leak?
- Session at 24-bit, 48 or 96 kHz?
- Effects off on the vocal channel?
Once the vocal is recorded, the next step is the mix. Mixing vs. mastering explains what gets fixed where.