
How to Set Up a Home Studio: The Essential Gear to Start With
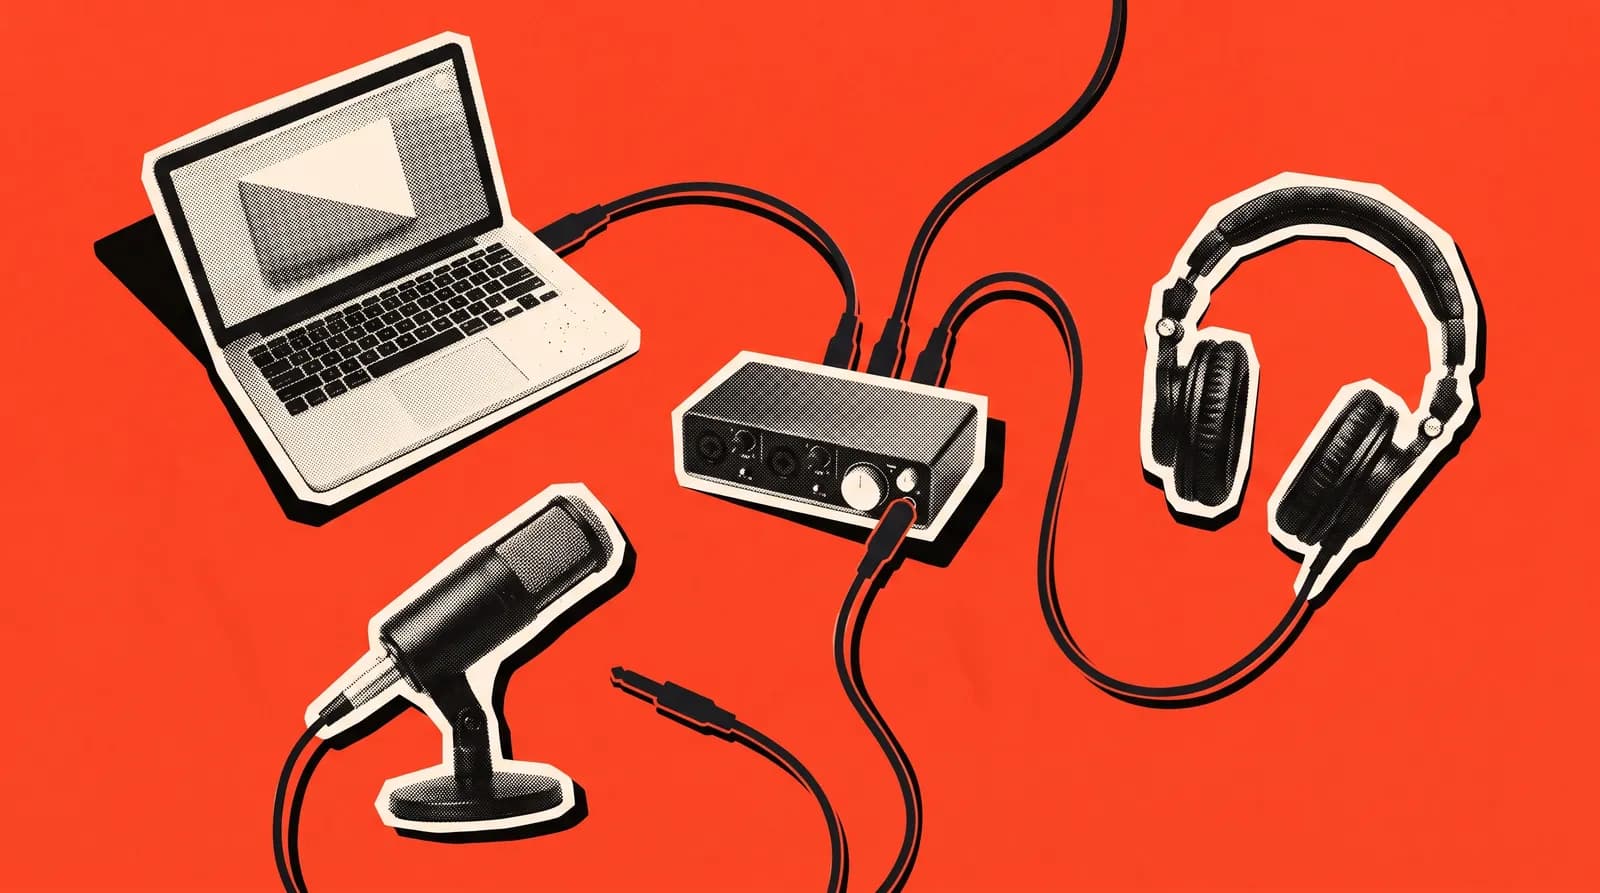
A home studio is a small recording setup in the corner of a room that lets you capture songs, demos and ideas without booking studio time. At its core, it's a computer, recording software, an audio interface, a microphone and a decent pair of headphones. Everything else can come later.
"Who's recording the demo for the new song?" Someone asks in the group chat, everyone shares a phone recording from rehearsal, and you can't hear the vocals on any of them. Booking a studio takes money and a date everyone can make. A simple setup at home is the fastest way to get an idea down before it disappears. Sound familiar?
What do you actually need to set up a home studio?
The goal of a first setup is simple: record something clean and hear it accurately. Seven things will get you there:
- Computer: The laptop you already own usually does the job. CPU and memory matter more once you record lots of tracks at once, but you don't need a new machine to start.
- DAW (recording software): Where you record, edit and mix. There are free options too, and we compared them for bands in what is a DAW.
- Audio interface: The box that connects your mics and instruments to the computer, with far cleaner sound than a built-in input. Our audio interface guide covers how many inputs you need.
- Microphone: One mic is enough to start with vocals and acoustic guitar.
- Headphones: Use closed-back headphones for tracking. Open-back ones leak sound into the mic.
- Cables: XLR for the mic, instrument cables for guitar and bass.
- Mic stand: Holding a mic adds handling noise. A basic stand fixes that.
Which microphone should you start with?
There are two main types. Dynamic mics are tough, work best up close and pick up less of the room. Condenser mics catch more detail, but they also catch your room's echo and whatever's happening outside. Most condensers need 48V phantom power from the interface to work.
If your room hasn't been treated, a dynamic vocal mic will usually give you a more controlled result. And if you already have a mic you use on stage, start with that. You know how it sounds.
Headphones or studio monitors first?
They do different jobs. Headphones are for recording: the player hears themselves and the backing track, and nothing leaks into the mic. Studio monitors, speakers designed to sound as neutral as possible, are for mixing, because they show you how the track sounds in a room.
If the budget only covers one, get a good pair of closed-back headphones. You'll use them for tracking and for your first mixes. Monitors make more sense once the room has had some attention, since in an untreated room they also play back every problem the room has.
How do you get your room ready to record?
The room is the most overlooked part of a home studio. Bare walls and hard floors bounce sound around, and your takes end up sounding like they were recorded in a bathroom. Before you buy any panels, try this:
- Set the mic up closer to the middle of the room, not right against a wall.
- Put soft stuff behind and beside you: a full bookshelf, heavy curtains, a rug, a sofa.
- Recording vocals facing an open wardrobe full of clothes cuts reflections more than you'd expect.
- If you use monitors, place them at equal distance from you, at ear height, and a little away from the wall.
- Listen for steady noise before you hit record: the fridge, the AC, traffic. If you hear a hum in your headphones, it's on the recording too.
Thin foam softens some of the high-end reflections but does nothing for bass build-up. Proper acoustic treatment is the next step once you can clearly hear the room on your recordings.
What can you skip at first?
Buying too much too early eats more home studio budgets than anything else. Until you've made your first few recordings, these can usually wait:
- An expensive mic: In an untreated room, it's hard to hear the difference.
- Paid plugin bundles: The EQ, compressor and reverb that ship with most DAWs are plenty to start.
- A big multi-input interface: Only needed if you plan to record the whole band at once.
- A MIDI keyboard: Can wait unless you play keys or use virtual instruments.
- Outboard preamps and effects: The preamps in your interface are fine for now.
What should you buy now, and what can wait?
The table below splits a first setup from the upgrades. We've left prices out because they vary a lot by country and over time. The rule of thumb: start entry-level and upgrade when you can actually hear what's missing.
| Gear | First setup | Later | When |
|---|---|---|---|
| Computer | The one you have | Faster CPU, more memory | When big sessions start stuttering |
| DAW | Free or trial version | Paid full version | Once you know what you need |
| Audio interface | 2 inputs | 8 or more inputs | When you want to record the band together |
| Microphone | One dynamic vocal mic | Condenser, drum mics | After some room treatment |
| Headphones | Closed-back | A second pair | When two people track at once |
| Monitors | Not needed | A pair of studio monitors | When you start mixing |
| Acoustics | Curtains, rug, bookshelf | Absorption panels, bass traps | When you hear the room on recordings |
| Cables and stand | One XLR, one instrument cable, one stand | Spare cables | Before the first cable dies |
What should you check before your first take?
Once everything's plugged in, a few minutes of checks before the real take saves you from mistakes you can't fix later:
- Project settings: Set the sample rate (48 kHz, say) and bit depth (24-bit) in your DAW at the start. If everyone in the band uses the same values, the files come together cleanly.
- Input level: Play or sing the loudest part of the song. If the light on the interface goes red, turn the gain down a touch.
- Headphone level: Loud enough to hear yourself comfortably, not so loud it bleeds into the mic.
- Phones: Airplane mode. A phone near the mic can show up on the recording as buzzing.
- Test take: Record thirty seconds and listen back on headphones. Hum, room echo or a low level is much easier to fix now than after a full take.
How does a band record at home?
Recording the whole band at once in a home studio usually isn't realistic. There isn't enough space or enough inputs, and an acoustic drum kit is a whole conversation with the neighbours. Most bands go one of two ways.
The first is recording part by part. You lay down a scratch track to a click, say guitar and a guide vocal, and everyone adds their part on top, one at a time. Steady tempo is everything here, so if the click still feels strange, start with how to practice with a metronome. The second way is to record drums and the live takes in a rehearsal room with a multi-input setup, then finish vocals and overdubs at home.
Either way, record everything at the same tempo and the same sample rate (48 kHz, for example), and name files clearly, like "songname_bass_take2". It saves a lot of pain later. Once the tracks are in, it's time to mix and master, and we explain the difference in mixing vs mastering.